The Heavy-Duty Standard Camera [PC-1916] is an analog high-definition device that captures a 110° horizontal and 60° vertical field of view, with an adjustable angle, infrared night vision, and a built-in microphone encased in a sturdy, waterproof housing (IP69K) with two compatible mounting brackets.
Typically used as a backup camera, this heavy-duty device is recommended for box trucks, van trailers, fire trucks, and other vehicles that need sturdier equipment.
Mounting
Rear cameras typically mount at the highest, most centered point available to capture the broadest view of the area with one of the two compatible mounting brackets:
- The U-Bracket (included) – allows up to 180° of adjustment while aiming the camera, enabling mounting above, below, or directly to any horizontal surface.
-
The Heavy-Duty Bracket (optional) – provides greater protection against heavy debris; covers the camera from the top and sides, but can only be mounted vertically.
U-Bracket
-
Select the mounting location.
- Verify that there is sufficient clearance on and behind the selected location to mount the camera and route its cable into the vehicle body.
- If possible, connect the camera to a monitor or a camera view tester to verify that the selected mounting area captures the desired view.
-
If the camera is not being used as a rear camera:
- Turn the screw at the camera's rear from [MIR] to [NOR] to unmirror its image.
-
Remove the camera from its bracket.
- Remove the camera's six (6) side screws and washers and set them aside.
-
Hold the camera's bracket to the vehicle body and mark the center cable hole and mounting notches.
-
Drill the camera's cable and mounting holes.
- Verify that the camera can be safely mounted at the selected location, if not already done.
- Use a 7/8” hole saw to drill the A/V Cable hole in the marked location.
- Use a 3/32" bit to drill the two (2) pilot mounting holes in the marked location.
-
Select the direction to mount the camera's bracket so the camera can be aimed at the desired position.
-
Hold the camera to the bracket to view the desired position on the mounting area.
-
The bracket may need to be flipped to achieve the desired aim.
-
Hold the camera to the bracket to view the desired position on the mounting area.
-
Mount the camera.
- Mount the camera's bracket with the two (2) self-tapping screws.
-
Run the camera's cable through the center cable hole into the vehicle body.
- Install a grommet or adhesive around the cable to seal the hole.
- Mount the camera to its bracket and loosely reinstall the six (6) screws and washers.
-
Aim the camera.
-
Tilt the camera to capture the desired view.
- If possible, connect the camera to a monitor or camera view tester to verify its view.
- Tighten the six (6) screws at the camera's sides
-
Tilt the camera to capture the desired view.
-
Route the camera's cable towards its connection device.
- This could be a monitor, DVR, wireless transmitter, and/or object detection control box.
- Use A/V Extension cables to extend the camera's connection up to 30 m, and an A/V Splitter Cable to split the signal between multiple devices as needed.
- Follow the vehicle's OEM wiring and paths whenever possible.
- Secure the cable to the vehicle's wiring or body.
Heavy-Duty Bracket 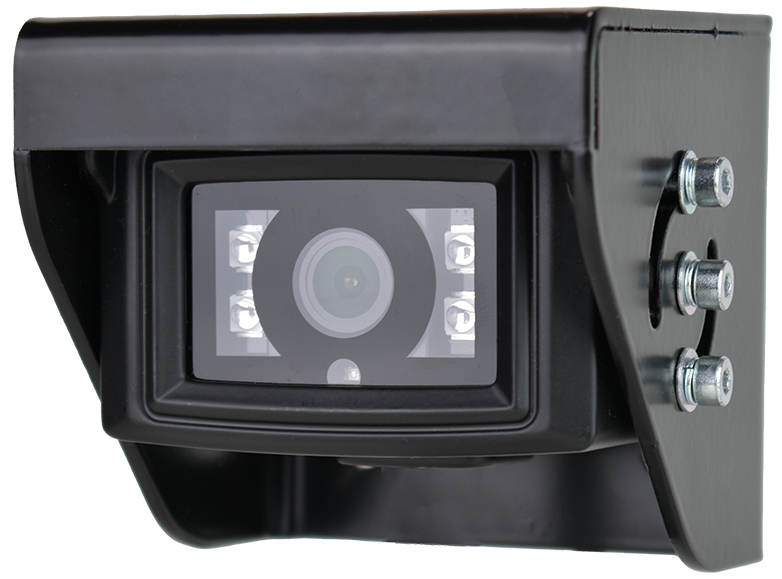
-
Select the mounting location.
- Verify there is sufficient clearance on and behind the selected location for the camera, its bracket, and its cable to be safely routed into the vehicle body.
- If possible, connect the camera to a monitor or a camera view tester to verify that the selected mounting area captures the desired view.
-
Remove the camera from its bracket.
- Remove the camera's six (6) screws and set them aside.
-
Hold the bracket to the vehicle body and mark the center cable hole and four (4) mounting notches
-
Drill the camera's cable and mounting notches.
- Verify that the camera can be safely mounted at the selected location, if not already done.
- Use a 7/8” hole saw to drill the A/V Cable hole in the marked location.
- Use a 3/32" bit to drill the four (4) pilot mounting holes in the marked location.
-
Mount the camera.
- Mount the heavy-duty bracket to the pilot mounting holes with four (4) self-tapping screws.
-
Run the camera's cable through the center cable hole into the vehicle body.
- Install a grommet or adhesive around the cable to seal the hole.
- Mount the camera to its bracket and loosely reinstall the six (6) screws and washers.
-
Aim the camera.
-
Align the camera to capture the desired view.
- If possible, connect the camera to a monitor or camera view tester.
- Tighten the six (6) side screws.
-
Align the camera to capture the desired view.
-
Route the camera's cable towards its connection device.
- This could be a monitor, DVR, wireless transmitter, and/or object detection control box.
- Use A/V Extension cables to extend the camera's connection up to 30 m, and an A/V Splitter Cable to split the signal between multiple devices as needed.
- Follow the vehicle's OEM wiring and paths whenever possible.
- Secure the cable to the vehicle's wiring or body.
| Sample Mounting | Recorded View |
Comments
Article is closed for comments.